Firewall Initialization
To allow the Intercloud Gateway to communicate with other
Gateways, you must allow those IP addresses of the foreign Gateways
to communicate via TCP ports 20, 21, 80, 443, 2001, 2002, 9000
and UDT port 9000.
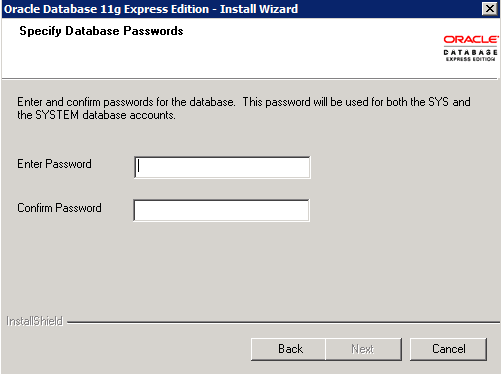
Database Initialization
Oracle database is an essential part of the Gateway. It supports
the Gateway by keeping tracks on everything.
- Open a browser and visit
http://127.0.0.1:8080/apex/f?p=4950 or double-click
[Get Started With Oracle] on your desktop.
- Click [Application Express].

- Login with username SYSTEM and password p@ssw0rd.
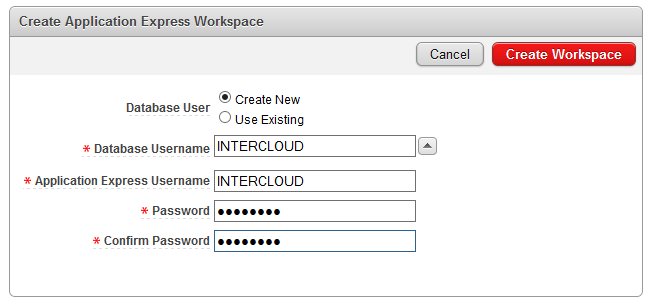
- Create a new user for the database and a new workspace.
Specify with username INTERCLOUD and password
p@ssw0rd.
- Close the browser.
Minio Server (Optional)
Note: If you are using other object storage services
such as Amazon S3 or Google, you don’t need Minio.
Minio Server is an open-source object storage server that
is compatible with the Gateway.
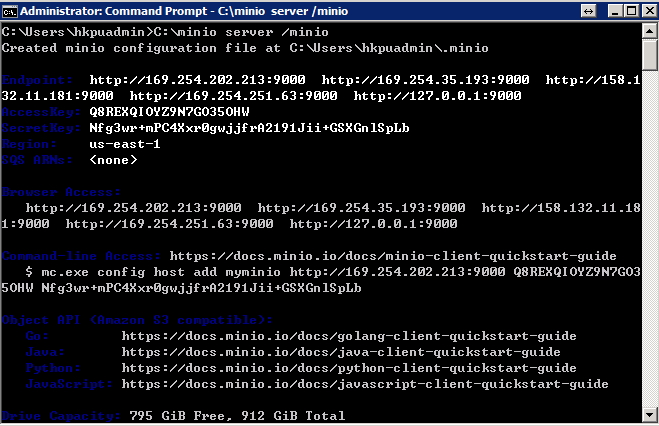
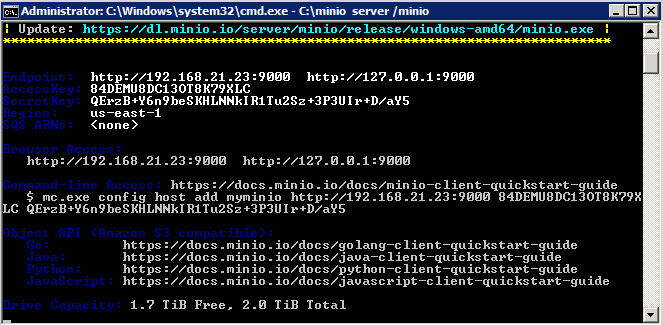
- In Command Prompt, under the minio installation directory, type server /minio
and press [Enter]. A screen similar to the one below will
show.
- Open a browser (Firefox is recommended), visit
http://127.0.0.1:9000.
The following screen will show.
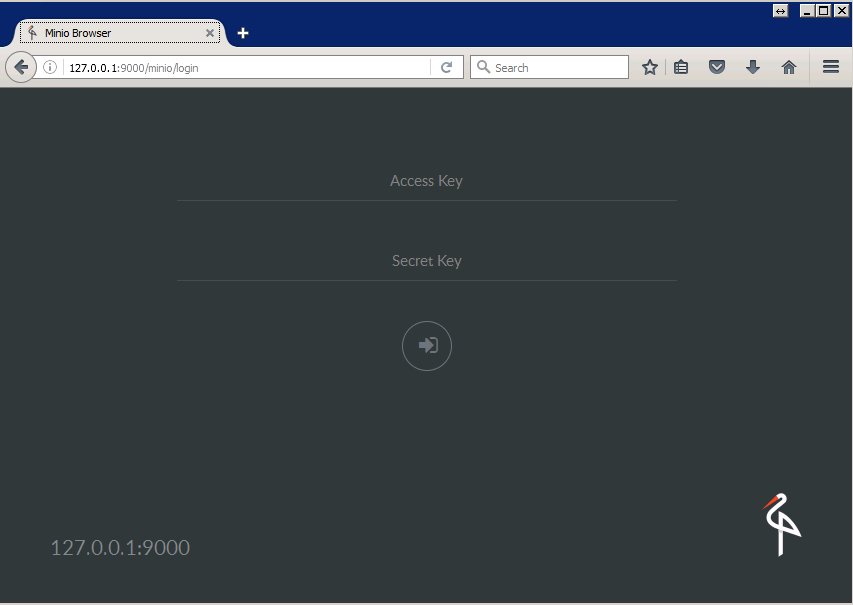
- Copy the [Access Key] and [Secret Key] from the Command
Prompt window in Step 1 to the Browser window in Step 2.
Click the
 button
to login.
button
to login.
- Click the
 button located at the right-bottom of the browser window,
then click
button located at the right-bottom of the browser window,
then click
 to
add a bucket.
to
add a bucket.
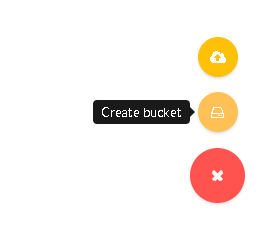
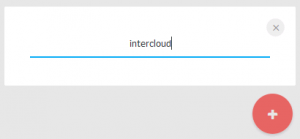
- Input intercloud and press [Enter].
- Minio setup is finished. You may upload file objects
to the intercloud bucket.
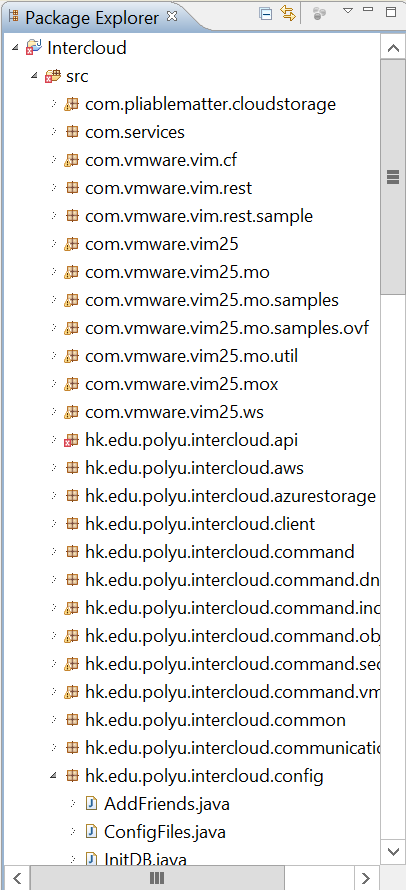
Importing the Gateway Project to Eclipse
In order to develop and operate the Intercloud Gateway, we
have to import it to Eclipse. You may get the latest version
of Gateway in two ways:

- Method 1: Click the button above to download the latest
7ZIP bundle, extract and import to Eclipse
- Method 2: Get the codes with SVN (https://iccp.cf:18089/svn/Intercloud),
then use the codes to create a project in Eclipse
Method 1 is simpler so we will discuss it here.
- Download a latest 7ZIP bundle from
here. The file name should be like
Intercloud_M*.7z.
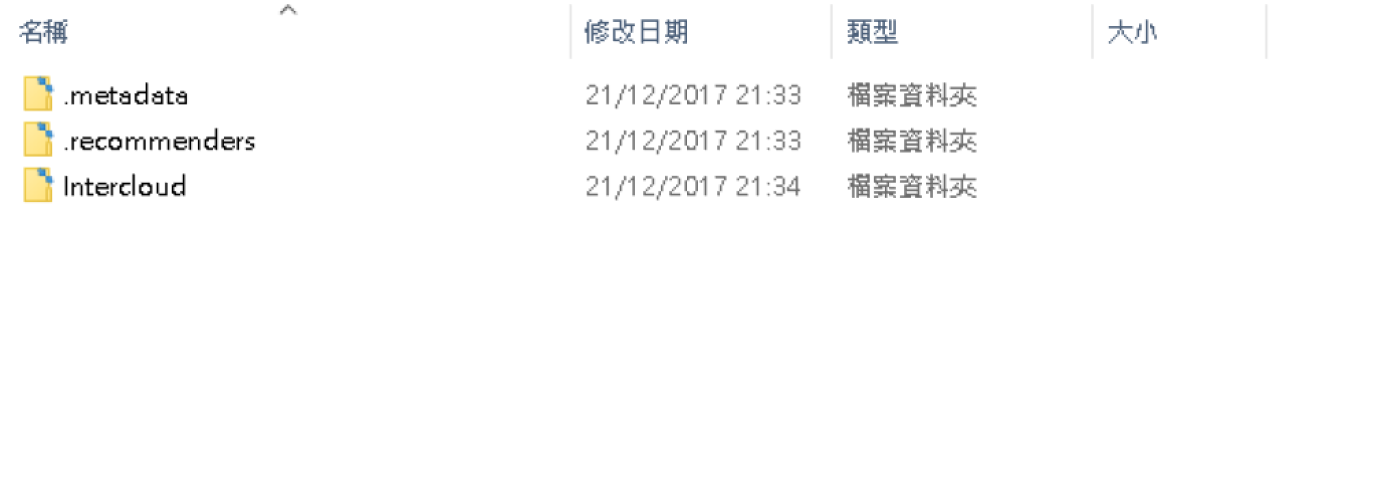
- Extract the file to
C:\share\workspace\.
Afterwards, the folder should contain the following.
- Start Eclipse. Run
C:\eclipse\eclipse.exe.
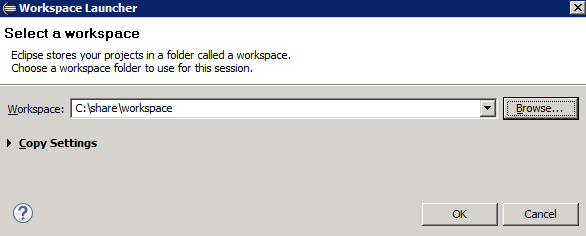
- Select the workspace:
C:\share\workspace
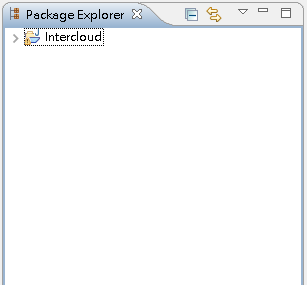
- The project “Intercloud” should appear in the “Package
Explorer”.
Initializing the Intercloud Gateway
Before running the Gateway, we have to initialize it first.
Don’t worry, these are one-time procedures.
Now that we add some tables to the database.
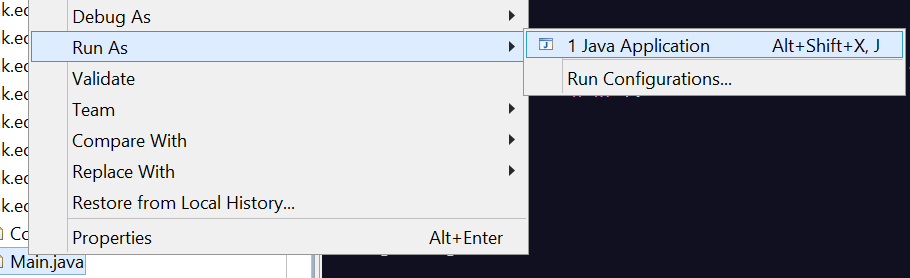
- In Eclipse, locate
Configuration.java
in the package
hk.edu.polyu.intercloud.main.
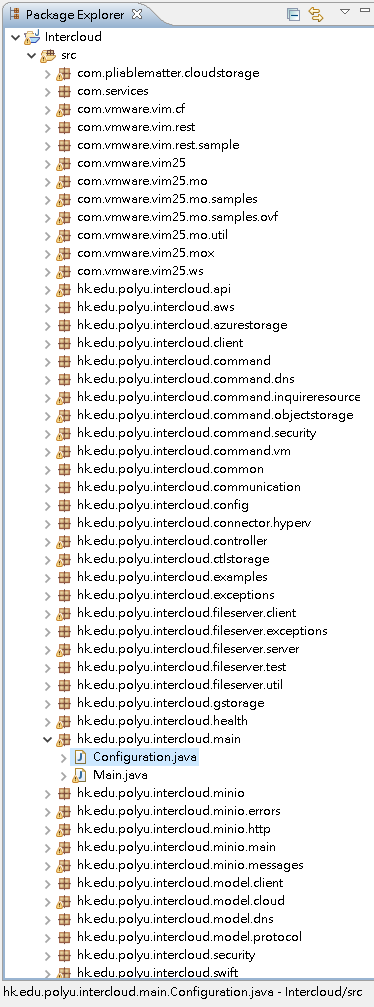
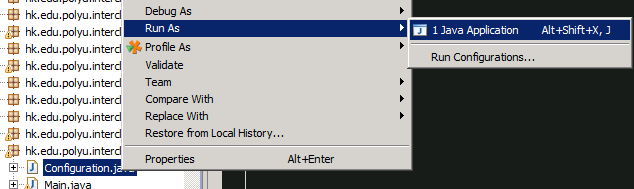
- Right-click
Configuration.java,
then run it as a Java application.
- A dialog appears. Click [Database].
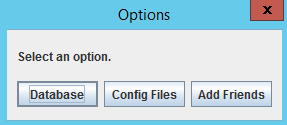
- Next, click [Initialize].
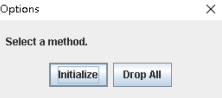
Note: The [Drop All] method DELETES all data and
may be useful if you no longer use the Gateway.
- A “Finished!” dialog will appear. Click [OK].
Then, we need to generate the configuration files and send a certificate signing request to CA server.
- Run the Configuration class again.
- A dialog appears. Click [Config Files].
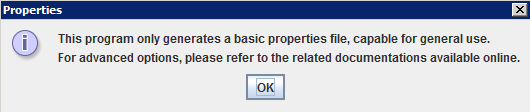
- The following dialog reminds you that you can refer
to the
documentations for advanced users and edit the properties
files manually. However, basic properties files are enough
for general use. Click [OK] to continue.
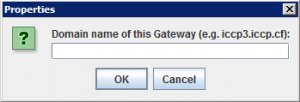
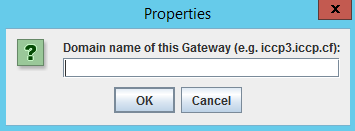
- Input the domain name of the Gateway and click [OK].
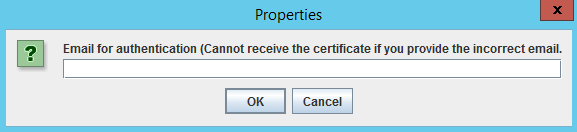
- Input the email of applicant for authentication and click [OK].
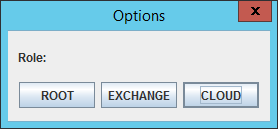
- Select the role of the Gateway. Click [Cloud] unless
you are setting up an advanced role like Root or Exchange.

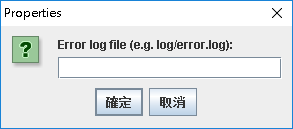
- Input the log file location and file name, which logs
the errors when running the Gateway. For example,
log/error.log.
Click [OK].
- Select your object storage provider from the drop-down
list, or select [Not Provided] if object storage service
is not provided. Click [OK] to continue. Follow the instructions
to generate a properties file for object storage.
Here
we use Minio as an example. Note that you should
select the appropriate provider for your own case.
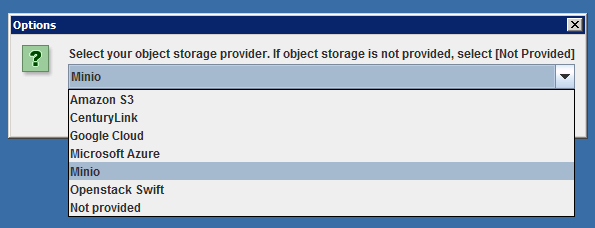
Example: Minio
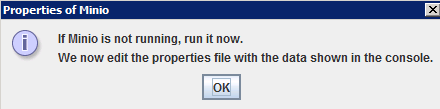
- Run Minio if it is not running. To run
Minio, type C:\minio server /minio in Command
Prompt and press [Enter].
Click [OK] in this dialog.
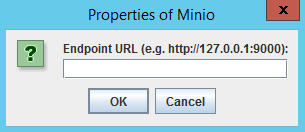
- Copy the Endpoint URL from the console and paste
it to the dialog below. Click [OK].
The following
is only an example.
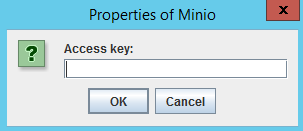
- Copy the Access Key from the console and paste it
to the dialog below. Click [OK].
The following is
only an example.
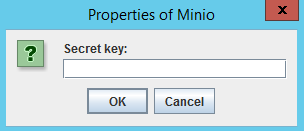
- Copy the Secret Key from the console and paste it
to the dialog below. Click [OK].
The following is
only an example.
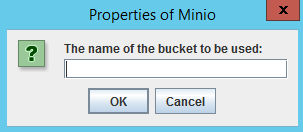
- Input the name of the bucket to be used. Normally,
you should input
intercloud.
Click [OK].
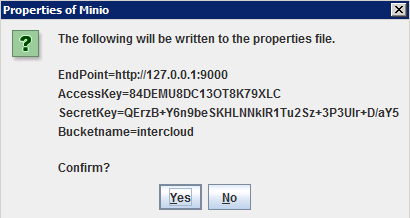
- Check if the contents are correct. Click [Yes] to
confirm, or [No] to modify the object storage properties.
- After setting the properties for object storage, we
shall set the properties for VM service. In this dialog,
click your VM product. If VM service is not provided, click
[Not Provided].
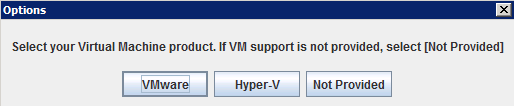
Follow the steps for configuring VM proterties.
- Check if the contents are correct. Click [Yes] to confirm,
or [No] to modify the gateway properties.
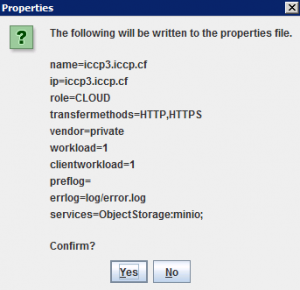
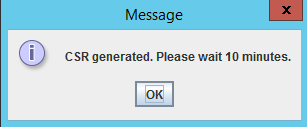
- Then a certificate signing request is generated and it will be received within 10 minutes if the gateway is open.
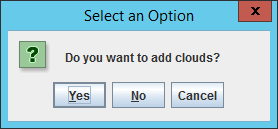
To enable the communication with other Gateways, we have
to add them to the database.
- Run the Configuration class again.
- A dialog appears. Click [Add Friends].
- Click [Yes] to add a Gateway.
- Input the domain name of the Gateway, click [OK].
- Select the role of the Gateway. Click [CLOUD] unless
you are setting up an advanced role like Root or Exchange.
- The following dialog will appear again. If you need
to add another Gateway, click [Yes] to repeat the above
steps. Otherwise, click [No] or [Cancel] to finish.
All configuration procedures are done. You can now start
testing and developing the Gateway.